| |
1 |
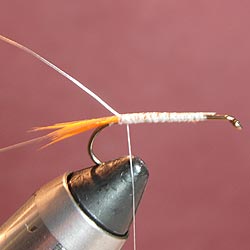 |
First step is to bind the hook with thread and tie in the tail.
Next lay the silver wire and Vinyl Rib long the top of the hook.
To make the body even in diameter it's important to lay these along the whole body. Leave the wire and vinyl rib extending out the back
|
| |
2 |
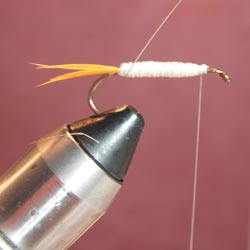 |
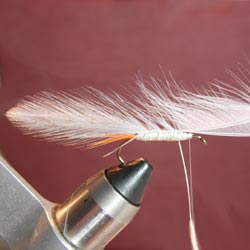
Next is to attach the flashabou, again lay it a long the whole body from the front to back, tie in, a good idea to apply some glue if you haven't already as this will help lock the body to the hook and stop it sliding up and down the hook when you fish it.
Then wind it forward to create the phosphorescent body, tie off and then wind the vinyl rib forward over this and tie off.
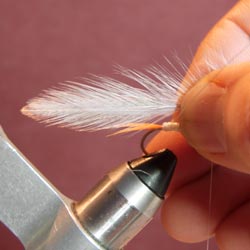
Your finishing point should be as shown in the picture, thread at the front and wire brought around and along the body a fraction, ready to trap the wing hackle.
|
| |
3 |
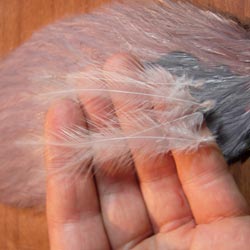 |
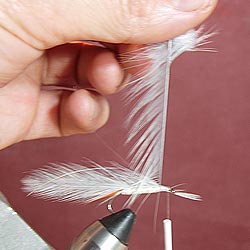
Select 4 nice even hackles from your cape. Using 4 give the wing enough bulk.
Because the hackles have a natural curve we need to use them in pairs. One pair presses against the other () like two brackets, this makes them lay straight and stops them splaying apart. Hope that makes sense.
|
| |
4 |
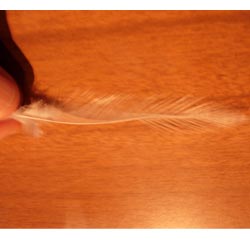 |
Prepare the feathers by stripping the hackle fibers off the bottom of the feathers where they will lay against the hook. Remember you are using two pairs as you do this, so it will be the opposite side on the second pair.
|
| |
5 |
 |
Next part is the fiddley bit as aligning 4 feathers with minds of their own can be tricky
|
| |
6 |
 |
Hold them in place, then split a gap through the hackle for the wire to pass through and wind it around, care needs to be taken to keep the hackles on the top of the hook. Once trapped the feathers can be adjusted as necessary, then continue winding the wire forward, splitting the hackle so you don't trap the fibers. Take the wire to the front in even winds and wrap firmly around the hook and secure with thread. Also secure the ends of the hackle with the thread too. If you want to as some flash, tie in 4 strips of flashabou or similar so they lie back along the wing. A spot of glue here would be a good idea.
|
| |
7 |
 |
Next take another hackle, you can use up any less than prefect hackle here. Strip the hackle off the forward side as shown in the picture so you can wind on the collar with the hackles facing backwards.
Tie off and trim, then fold the hackles back along the body with your fingers and wind the thread back over the hackle stems to make them lay down against the body
|
| |
8 |
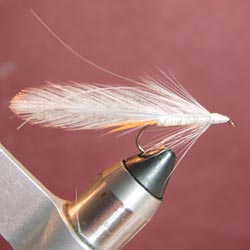 |
And this would be the finishing point for the traditional pattern, just glue the head and you are done.
But I've left a slightly longer head to pop some epoxy eyes onto
|
| |
9 |
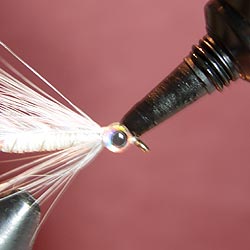 |
The epoxy eyes are sticky so stick them in place, then using epoxy coat the eyes to provide an epoxy head.
I've used the Loon UV Clear Fly Finish here and while it's pricey, but it does come in a decent size tube, it is much easier and less messy, and even has an finer nozzle for smaller work
|
| |
10 |
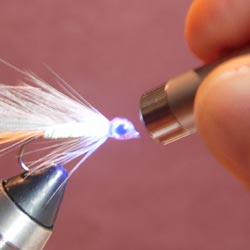 |
Once the Loon product is applied it's set in seconds using a UV light, all very easy.
|
| |
|
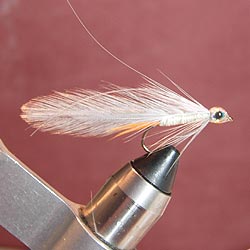 |
And the end result;
|